
The Vertex Editor is found under the Tools tab of the side panel, and allows to edit areas created in REDkit – for example, adding more faces to a rectangular area so that you can get a more precise shape.
Make sure that you have enabled Areas and Sprites under View/Filters_ debug options (subtree Editor/Debug).
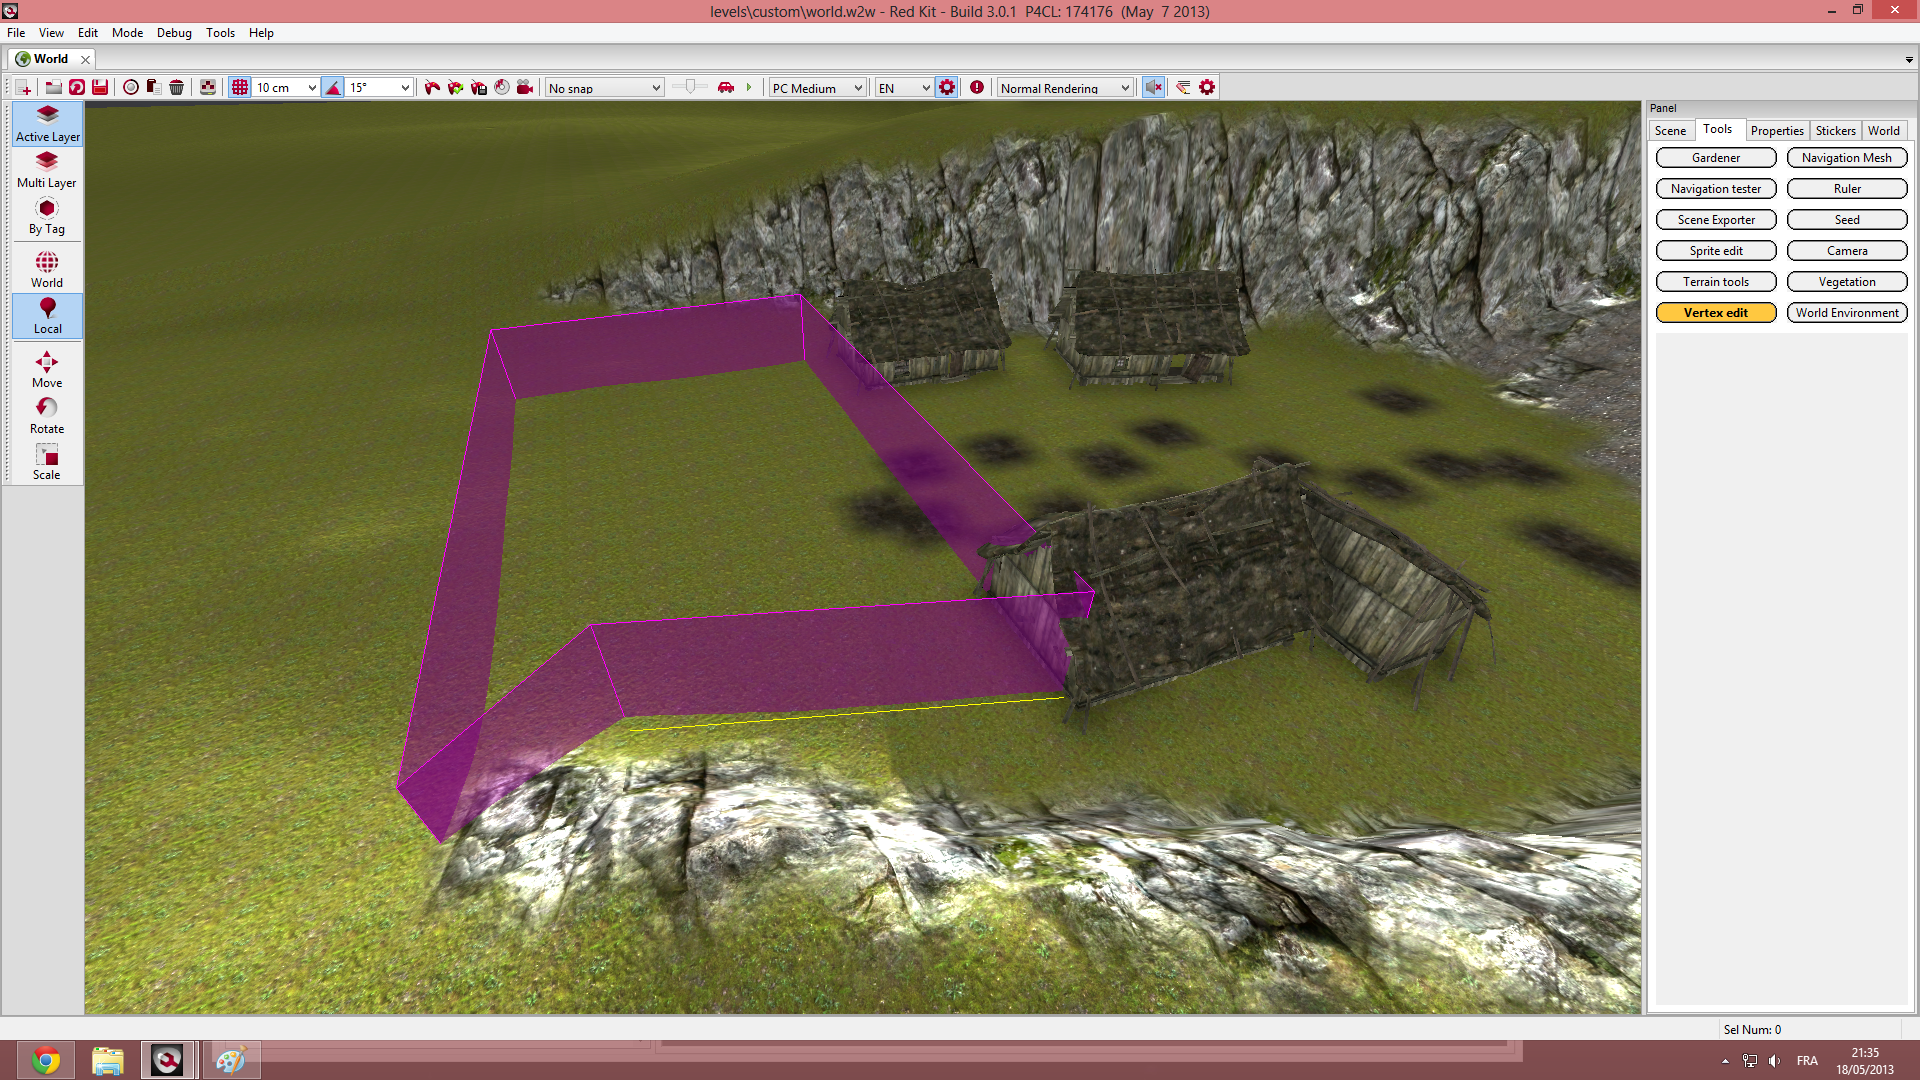
Select an area you want to edit from the Scene tab on the side panel, go to the Tools tab and click on the Vertex Editor button.
Note: the Vertex Editor does not have any GUI.
In the Vertex Editor with sprites visibility turned on, vertices of selected area should appear as white circles.
You can select those vertices and move them around.
To add a vertex to an area, press the Alt key and click on an existing face : it will get divided in two.
Note: you don't need to click exactly on the edge, the tool will work as long as the choosen edge gets highlighted.
Just select the undesired vertex and press Delete to send it to oblivion.
How to use the Vertex Editor
Make sure that you have enabled Areas and Sprites under View/Filters_ debug options (subtree Editor/Debug).
Select an area you want to edit from the Scene tab on the side panel, go to the Tools tab and click on the Vertex Editor button.
Note: the Vertex Editor does not have any GUI.
Move vertices
In the Vertex Editor with sprites visibility turned on, vertices of selected area should appear as white circles.
You can select those vertices and move them around.
Adding vertices on an area
To add a vertex to an area, press the Alt key and click on an existing face : it will get divided in two.
Note: you don't need to click exactly on the edge, the tool will work as long as the choosen edge gets highlighted.
Removing vertices
Just select the undesired vertex and press Delete to send it to oblivion.