
In order to create a world...
1). Click on File/New world.
2). Select a save folder or create a new one.
NOTE: it is highly recommended to have it in the data\levels subfolder of The Witcher 2 installation folder; in any case it has to be located in the data subfolder.
3). Type the world’s name and save it.

NOTE: the folder \data\levels\MyLevel is used to store files created with world editor. Do not manually put any files or folders here.
Creating terrain
Now, to generate the terrain...
1). Click the "Tools" tab within the right-side panel.
2). Select Terrain Tools.
3). Choose Create/Modify terrain.
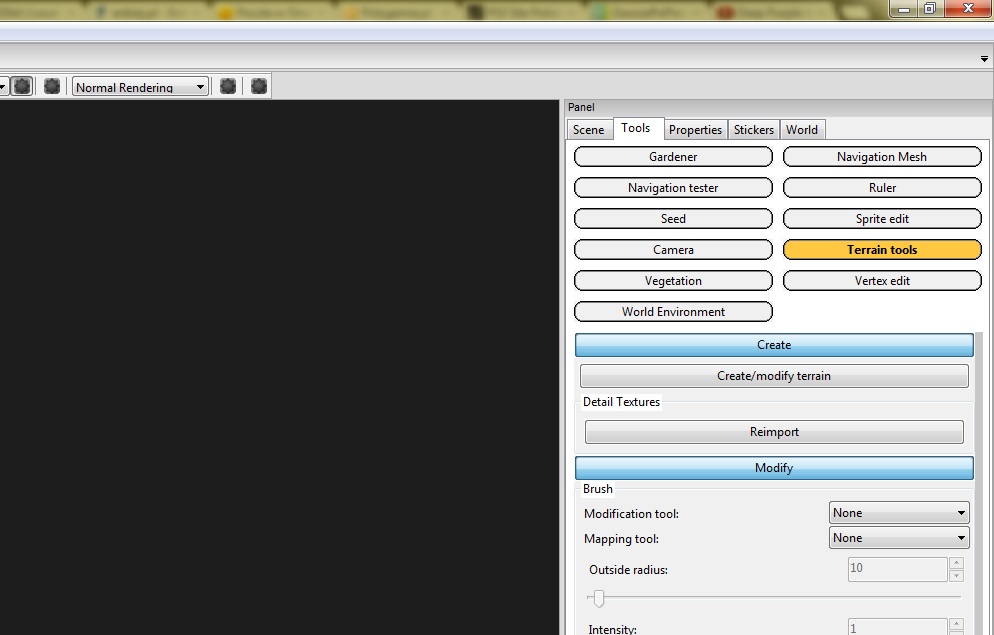
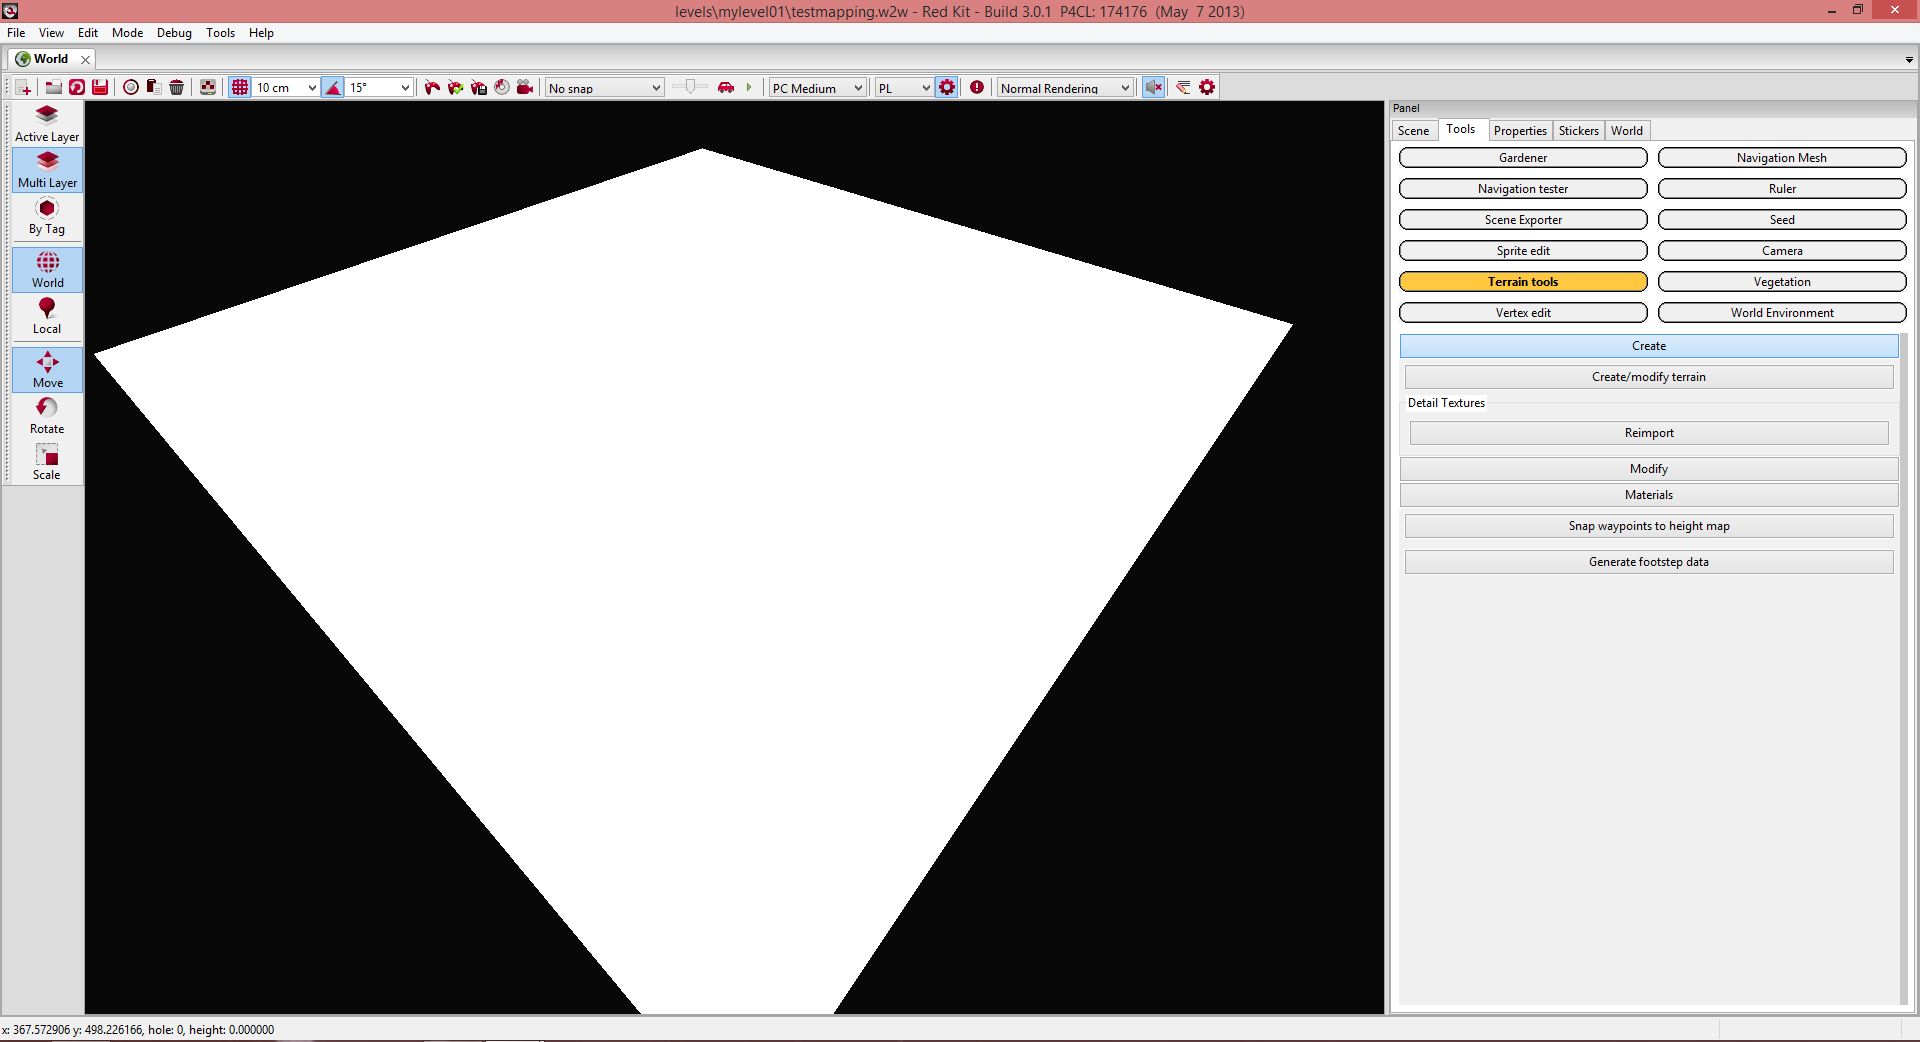
4). Set its size, then press Create.

Bam! You've now got a square piece of land to work with.

NOTE: Each resource within your World has to be hand-loaded into the REDkit in order to be displayed and edited.
Concept of load/Unload
REDkit work with a concept of Loading and unloading elements on a scene.
This feature prevents you from loading everything at once and over-burdening your Computer.
To load all/ unload all :
Just right-click the World icon within the "Scene" tab and click Load All.
For now all you have is a large white terrain.
You can use the left mouse button to move in and out as well as side to side. You can also move yourself with the WASD keys, using the right mouse button to freelook. Q and E raise and lower you straight up and down. Shift will speed up your movement.